Humane Education & Tours
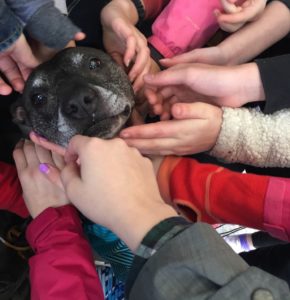
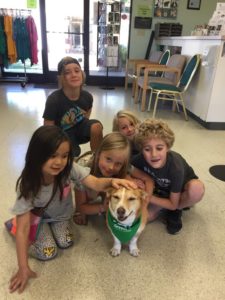
Part of Greenhill's mission is to promote the humane treatment of animals. Experience the incredible work Greenhill does every day by taking a tour. Or schedule a presentation for your school or organization to learn more about the importance of compassion and kindness of animals and the people who love them from a Humane Educator.
Tours
We offer in-person small group tours (size capacity of attendees do apply, and will be discussed at your confirmation) of our newly remodeled state of the art facility. Tours include:
- Cat, Dog, and Specialized Species Care Spaces
- Animal Behavior & Animal Enrichment
- Resources and Services Provided to the Community
- Volunteer and Fostering Opportunities and Information
- Animal Care Information
To sign up for a shelter tour, please email fill out a shelter tour request at the button below.
Presentations
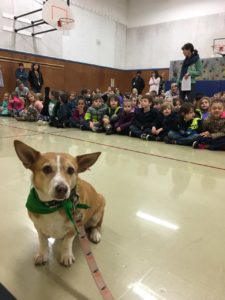
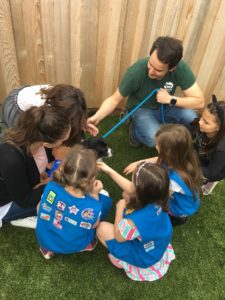
We invite students, organizations and any groups, to learn about the services, resources and opportunities Greenhill provides the animals in Lane County via an in-person Humane Education Presentation. We offer Humane Education presentations to groups of ALL AGES on topics such as:
- Animal Behavior
- Animal Careers
- Greenhill's History and Mission
- Adoptable Animals in Our Care
- What does an Animal Shelter do?
- Opportunities surrounding upcoming Events, Volunteering, Fostering and Disaster Response
For more information or to request a presentation, please call 541-689-1503 x 134.

Help the animals with crafting!
Give back to the animals through crafting! Open the windows below for craft instructions or click the button to download a PDF version of the craft guide.
Thank you so much for making toys for the animals of Greenhill! Your wonderful creations will bring joy and fun
to the animals while they wait for their forever families! Please do not use any of the following items which may
present a danger to the animals:
Expired food products
Toxic glue or materials
Glitter
Items that may become loose, which an animal may
swallow, including bells, trinkets, beads, etc.
String that may fray or be swallowed.
If you have any questions at all, please do not hesitate to ask by contacting community@green-hill.org.